AnasSarkiz/BlinkBuddy
This code defines and renders a 24mm square PCB silkscreen with a centered QR code graphic and labeling for open project instructions.
- Version
- 1.0.11
- License
- unset
- Stars
- 0
programming/FIRST_BRINGUP.md
# BlinkBuddy First Bring-Up

Use this when you just received an assembled BlinkBuddy board.

## What This Board Is

BlinkBuddy is an ESP32-C3 board. USB-C goes to a CH340C USB serial chip, so normal flashing is over USB-C. The CH340C also drives the ESP32-C3 auto-program circuit with DTR/RTS, so you usually do not need to touch BOOT or EN.

Main connections:

| Function | ESP32-C3 GPIO |
| --- | --- |
| Left LDR ADC | GPIO0 |
| Right LDR ADC | GPIO1 |
| Status LED | GPIO3 |
| I2C SDA: OLED, LIS3DHTR, Qwiic | GPIO4 |
| I2C SCL: OLED, LIS3DHTR, Qwiic | GPIO5 |
| LEFT button | GPIO6, active low |
| OK button | GPIO7, active low |
| RIGHT button | GPIO18, active low |
| Buzzer drive | GPIO10 |

## 1. Inspect Before Power

1. Check USB-C J1, ESP32-C3 U1, CH340C U2, regulator U3, OLED1, and LIS3DHTR U4 for bad soldering or rotated parts.
2. Check that the OLED is not crushing nearby parts.
3. Check that both LDRs are exposed and not covered by the enclosure or OLED.
4. With a multimeter, confirm there is no dead short between `TP_3V3` and `TP_GND`.
5. If possible, power the first board from a current-limited USB supply or a protected USB hub.

## 2. Confirm USB Serial

Plug in USB-C, then on macOS run:

```bash
ls /dev/cu.*
```

The board should appear as a CH340 serial port, often named like:

```txt
/dev/cu.wchusbserialXXXX
```

If no port appears, try another cable first. Some USB-C cables are charge-only. If it still does not appear, inspect J1, U2, U3, and the 3.3 V rail.

## 3. Install Flash Tools

From your Mac:

```bash
python3 -m pip install esptool mpremote
```

## 4. Flash ESP32-C3 MicroPython

Download the ESP32-C3 MicroPython firmware from:

```txt
https://micropython.org/download/ESP32_GENERIC_C3/
```

Use the `.bin` file you downloaded, then replace the serial port below with your real port:

```bash
esptool.py --chip esp32c3 --port /dev/cu.wchusbserialXXXX erase_flash
esptool.py --chip esp32c3 --port /dev/cu.wchusbserialXXXX --baud 460800 write_flash -z 0x0 ESP32_GENERIC_C3-*.bin
```

## 5. Upload The BlinkBuddy Program

From the repo root:

```bash
cd programming/micropython
mpremote connect /dev/cu.wchusbserialXXXX fs cp main.py :main.py
mpremote connect /dev/cu.wchusbserialXXXX reset
```

Open the serial console:

```bash
mpremote connect /dev/cu.wchusbserialXXXX
```

You should see startup text like:

```txt
BlinkBuddy MicroPython firmware
I2C scan: ['0x19', '0x3c']
OLED OK at 0x3c
LIS3DH: ok
BlinkBuddy app running
```

It is still useful if OLED or LIS3DH says missing. The firmware keeps running and prints serial debug so you can diagnose soldering or address issues.

## 6. Expected Board Behavior

On a good first boot:

1. The buzzer beeps once.
2. The red status LED blinks about twice per second.
3. The OLED shows BlinkBuddy eyes.
4. Leave the board still; the eyes should naturally blink every few seconds.
5. Cover the left LDR and right LDR separately; the serial values should change and the eyes should move.
6. Press LEFT, OK, and RIGHT; serial should print button messages, the buzzer should chirp, and the OLED screen should change.
7. Shake or tilt the board; `movement` should increase in the serial log and the eyes should blink.

## 7. If Upload Does Not Start

Usually the auto-program circuit handles this. If `esptool.py` is stuck at `Connecting...`:

1. Make sure RIGHT is not pressed.
2. Unplug USB-C, plug it back in, and retry.
3. Try a slower baud:

```bash
esptool.py --chip esp32c3 --port /dev/cu.wchusbserialXXXX --baud 115200 write_flash -z 0x0 ESP32_GENERIC_C3-*.bin
```

Manual recovery is possible from the testpoints:

1. Temporarily short `TP_BOOT` to `TP_GND`.
2. Briefly short `TP_EN` to `TP_GND`, then release `TP_EN`.
3. Start the `esptool.py` command.
4. Release `TP_BOOT` after the tool connects.

Only do the manual testpoint method if you are comfortable using tweezers or a jumper on small pads.

## 8. If Something Is Not Working

Use the serial log first:

| Symptom | First check |
| --- | --- |
| No USB port | Cable, USB-C connector J1, CH340C U2, regulator U3 |
| USB port appears but no upload | Retry lower baud, inspect EN/BOOT auto-program parts |
| OLED blank but serial works | I2C scan, OLED address `0x3c`/`0x3d`, OLED soldering |
| `LIS3DH: missing` | I2C scan should include `0x19`, inspect U4 soldering |
| LDR values stuck | Inspect LDRs and R6/R7 dividers |
| Buttons do nothing | Buttons should pull GPIO6/7/8 to GND when pressed |
| Buzzer silent | Inspect Q1, R8, and BZ1 |
| LED silent | Inspect D1 orientation and R9 |
Related Packages
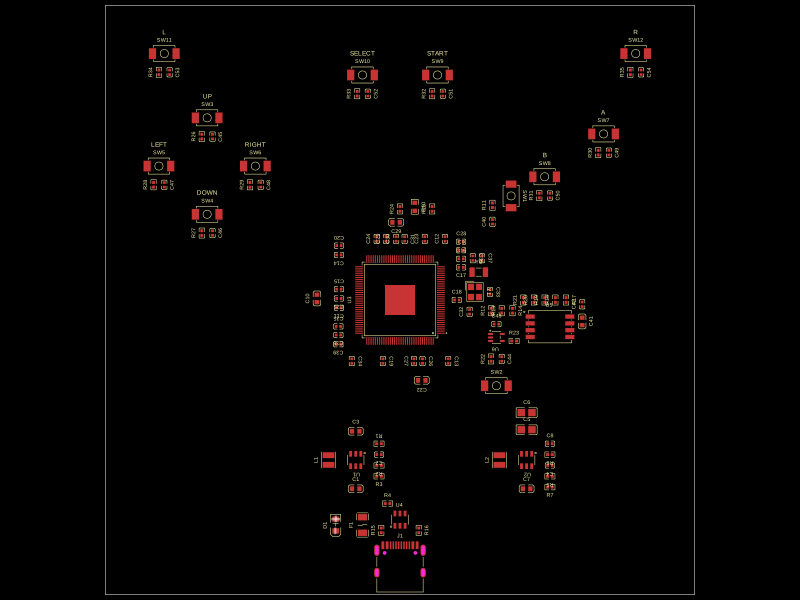 More from this authorAnasSarkiz/Game-Boy-EnhanceThis code defines a hardware schematic featuring a CPU with associated power, clock, and interface components, including specialized chips, crystals, connectors, and passive components, all structured for circuit design and simulation.
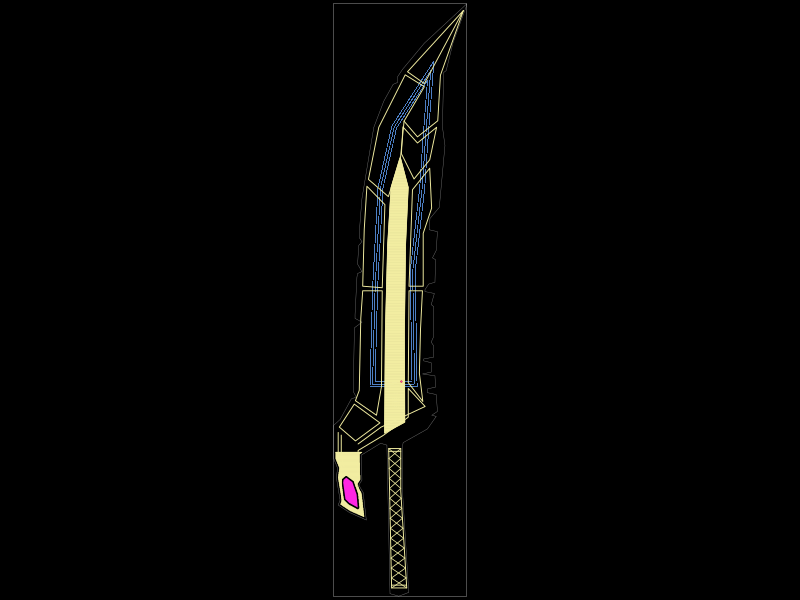 Similar packagekrishnax12/tensa-zangetsu-keychain-nfcThis code defines a PCB footprint and 3D model for an NFC-enabled electronic component featuring an NXP NT2H1311F0DTLH chip, a PCB copper coil antenna, and a custom-shaped, silkscreen-illustrated metal blade housing.
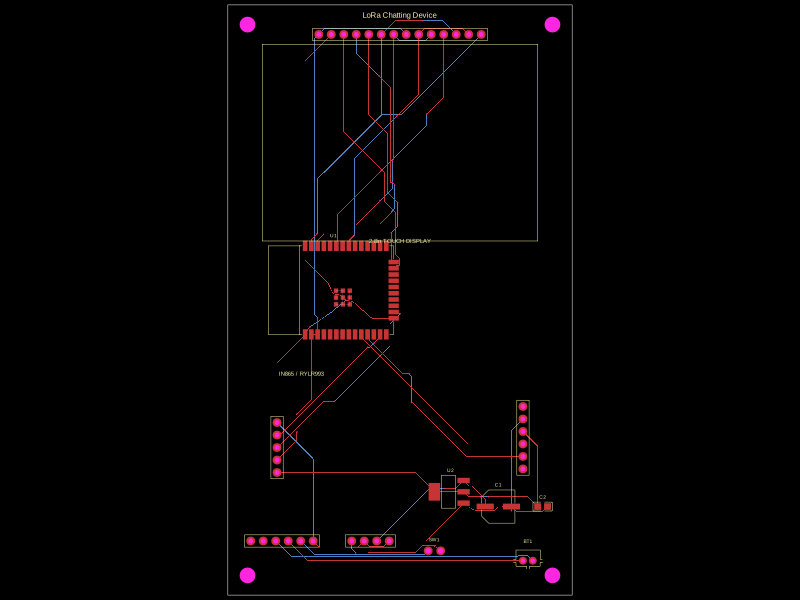 Discover something newhrithik18k/Chatting-DeviceThis code defines React components representing surface-mount voltage regulator and resistor chips with specified pin layouts, footprints, and 3D CAD models for electronic hardware design.